 Free UK delivery

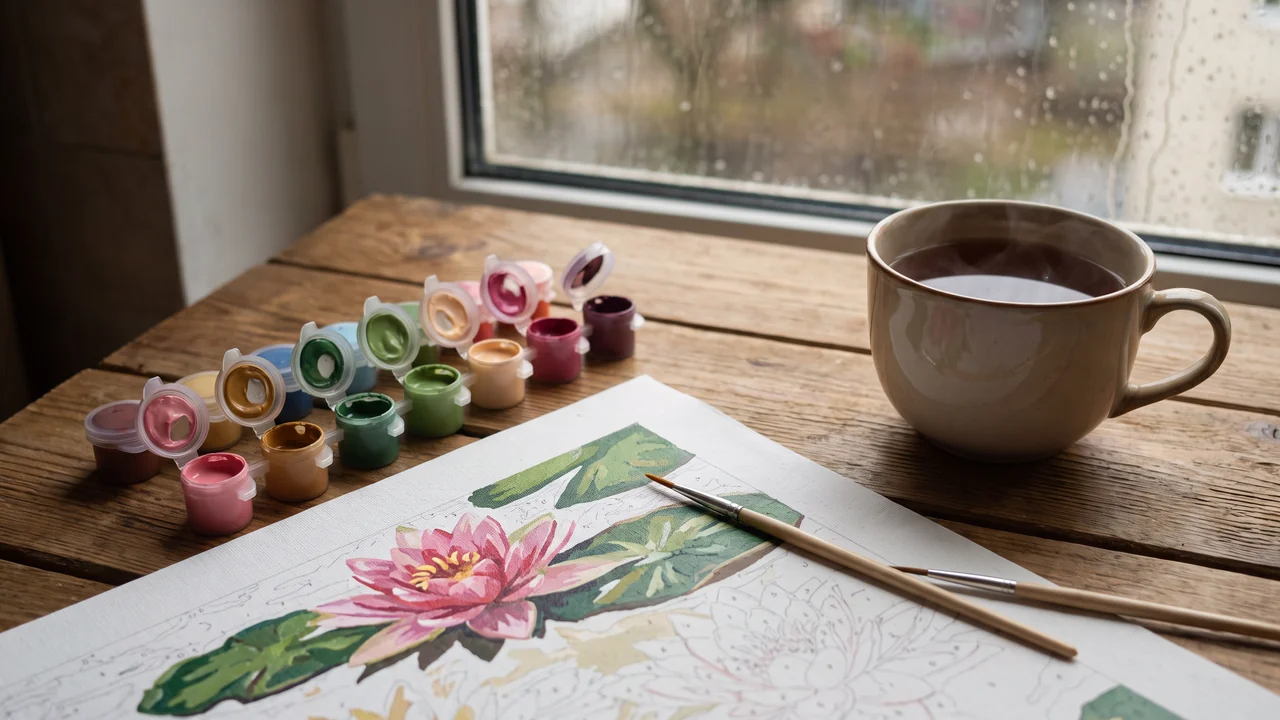
Paint by Numbers Tips YouTube Videos Miss
Searching for paint by numbers tips on YouTube reveals how to build pale colours in thin coats and clean brushes before they splay. Small habits determine the finish: prepare the canvas and adjust your paint with care. A written checklist helps you pause at each section, cover numbers, and keep small edges steady.
This guide suits UK and Irish adults painting to relax, beginners learning the basics, and regular painters refining their technique. It also helps anyone choose a kit or personalised design from a photo as a gift. This guide covers practical steps for setting up your table, checking paint consistency, working around tiny shapes, storing open pots, and preparing the finished picture for sealing, framing and hanging.
In short
- Prepare the canvas and your workspace before opening the first pot; poor preparation is the main cause of patchy results.
- Thin acrylics with a drop of water at a time and build two thin coats rather than one thick one.
- Paint pale colours over a white base layer so the printed numbers do not show through.
- Work small areas and edges first, then fill large areas, and keep the brush rinsed between colours.
What paint by numbers tips do YouTube videos leave out?
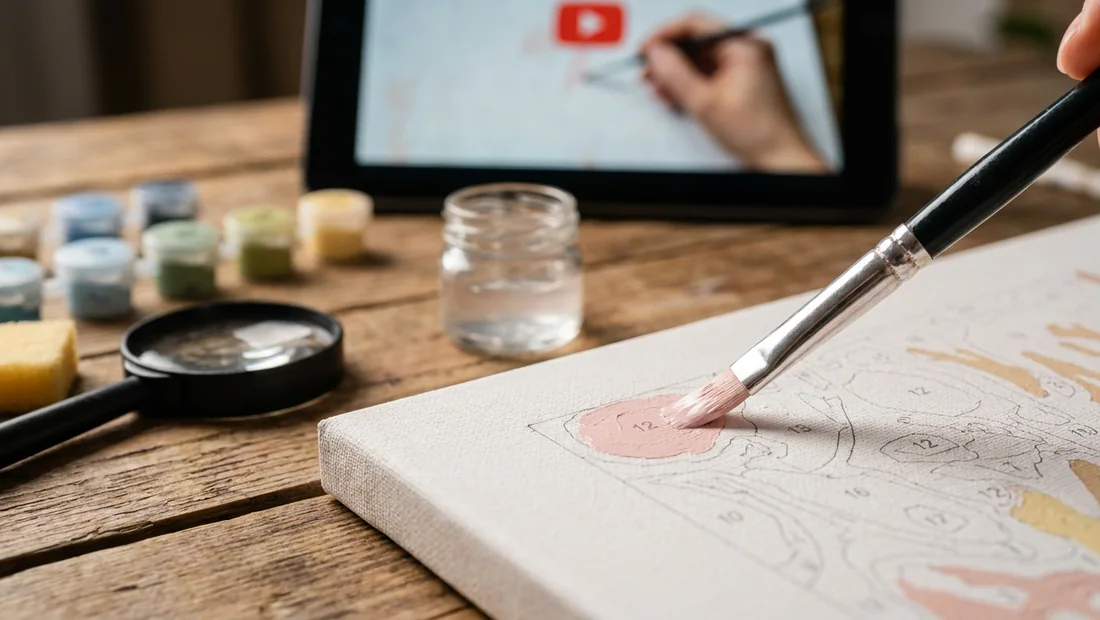
The quiet preparation steps decide how clean the finished picture looks, and most paint by numbers videos skip them. Most tutorials start with the canvas already flat, the work surface arranged and the light in the right place. At your table, you may need to flatten a rolled canvas under a few heavy books, clear a stable area and add a bright lamp so small printed sections are easy to read. These steps take only a few minutes and make the painting easier to control.
Patchy coverage, printed numbers showing through pale colours and soft edges around small areas are the usual early problems. Each one has a practical cause. Uneven coats can come from rushing or using too little paint. Pale acrylic may need a second thin coat after the first has dried. Small sections become untidy when a loaded brush is pushed into a corner instead of guided along the edge. A written checklist helps because you can keep it beside the canvas and pause between steps to check your work while both hands are busy.
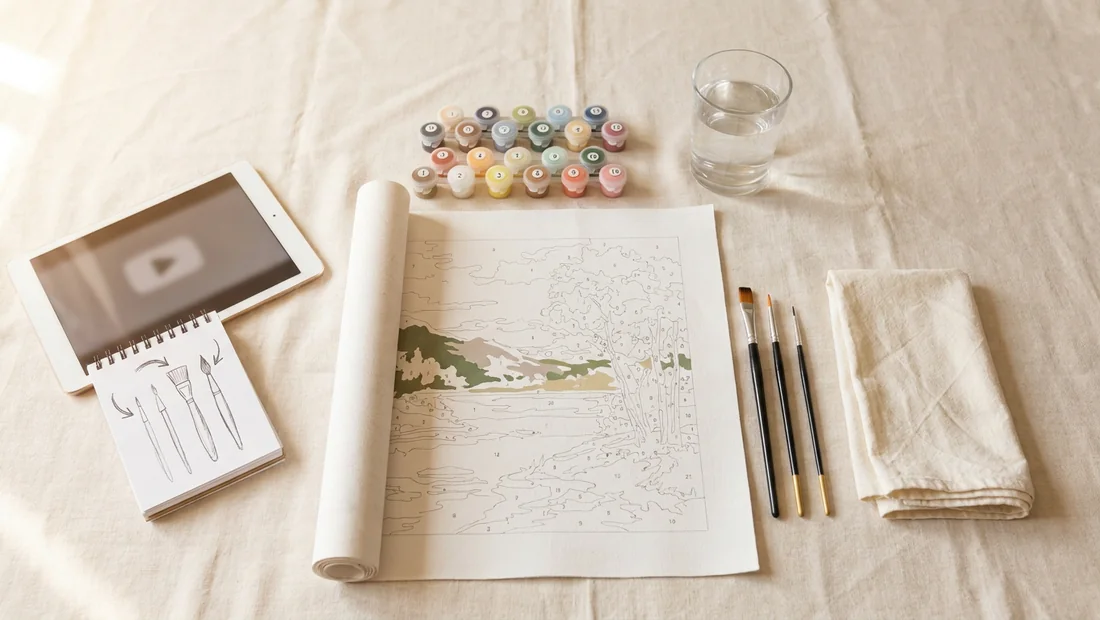
Our kits include a pre-printed numbered canvas, matching acrylic paints and brushes. A water pot, kitchen roll or a lint-free cloth, a bright desk lamp and a clean surface for resting the brush are worth adding. Clips or low-tack tape can help hold the canvas steady. Paint by Numbers for Adults explains the kit format, while Paint by Numbers Accessories covers useful additions for a more comfortable setup. The following steps turn those overlooked details into a simple table-side routine.
Set up the canvas and workspace before you open a pot
Unroll the canvas
Unroll the canvas with the printed side facing upwards and place it on a clean, flat surface. Weigh down each corner with a book or another clean, flat object for a few hours. This gives the canvas time to relax after being rolled and makes the numbered sections easier to follow.
Choose a steady work surface
Set up at a table where your forearms can rest comfortably and the canvas can lie fully flat. Work in daylight when possible, or use a daylight lamp that shows the printed lines and paint colours clearly. A warm bulb can make colours appear different from how they are and can hide small numbers in pale areas.
Secure the edges
If the canvas still curls, place low-tack masking tape along its outer edges and fix it to the table or a piece of flat card. Keep the tape outside the printed picture so it does not cover numbered sections or lift the surface when removed.
Keep your references close
Place the reference picture beside your painting and keep a spare sheet of paper nearby. Use the paper to test a brush, check the colour and remove excess paint before touching the canvas. This simple pause helps you spot a paint consistency problem before it reaches a small section.
Arrange the paint pots
Put the numbered pots in numerical order before opening one. Leave the lids closed until you need each colour, then return every pot to the same position. You will spend less time hunting for a number mid-section and reduce the chance of mixing up similar shades.
Keep water, a cloth and the brushes within easy reach, with enough room to turn the canvas without dragging it across the table. You can find further items for a tidy setup in our Paint by Numbers Accessories.
Get the paint consistency right: thin coats, not thick ones
The simplest way to avoid patchy coverage in paint by numbers is to apply two thin coats of acrylic paint rather than one thick coat. Paint supplied in a numbered pot can be too thick for small sections, especially when a brush loaded with paint catches on the printed canvas. A thick layer may leave ridges, cover the edges unevenly and take longer to dry.
Place a small amount on a palette or a clean, smooth dish, then add water one drop at a time. Mix with the brush and check the result before adding more. The paint should move smoothly from the brush while still covering the canvas. If it drags or leaves gaps, add another drop. If it looks watery, pools in the numbered area or runs towards the printed line, it has been thinned too far. Keep the water on the palette, rather than adding it directly to the pot, so the remaining paint keeps its intended consistency.
Brush the first coat across the section with light, even strokes, then leave it to dry fully before applying the second. Acrylic can look uneven while wet and settle as it dries, so adding more paint immediately often creates a thicker patch. For pale colours, a second fine coat gives more even coverage while preserving the small details of the design. Work from the centre of a section towards its edges, using less paint on the final strokes.
Stop the numbers showing through pale colours
Check the pale area first
Begin with the pale yellow, white and pink sections of your paint by numbers canvas, as the printed numbers and outlines can show through these less opaque colours. Place the canvas flat under good light and double-check the number before you paint.
Cover the print with white
Use a small, clean brush to apply a thin white coat inside the numbered area. Keep the paint within the printed shape and leave the edges tidy. This base softens the dark print so the final colour can cover it more evenly.
Let the white layer dry fully before adding the colour. Acrylic paint may feel dry on the surface while remaining soft underneath, so allow extra time if the coat still looks glossy or feels tacky.
Build the colour in two passes
Load the brush lightly and spread the pale colour over the dry white base. Leave the first coat thin and even, then allow it to dry. Apply a second thin coat to improve coverage, especially in the centre of larger sections.
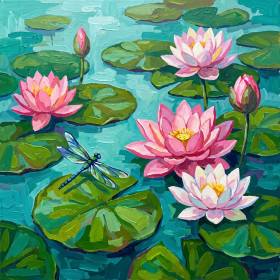
For pink areas in a design such as Pink Water Lilies and Blue Dragonfly Paint by Numbers, work with gentle strokes in one direction. This helps you see where the first layer is still showing through.
Keep the paint smooth
do not pile on thick paint to hide a number. A heavy layer dries with ridges and can make the section look uneven beside the surrounding areas. If coverage still looks patchy, let the paint dry and add another light coat rather than scrubbing the surface.
Keep edges crisp on small sections
Clean edges in paint by numbers come from the order you paint in, the brush you choose, and giving each colour enough time to set before painting the adjacent section.
- Start with the small sections and their outlines, then work towards the larger areas; this gives you more control where the numbered shapes are tight and leaves broad spaces for quicker brushwork later.
- Use the smallest brush in the kit for narrow corners, short curves and tiny numbered shapes, holding it close to the ferrule for steadier movement.
- Choose a flat brush for long edges and wider sections, and keep its side aligned with the boundary rather than dragging the tip repeatedly along the line.
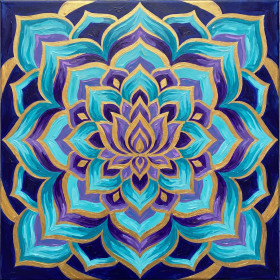
- Work one colour across the canvas at a time where practical, including separate areas on the Geometric Floral Mandala Paint by Numbers; this reduces repeated rinsing and keeps the same shade consistent.
- Rinse the brush thoroughly when changing colours, then press it gently against a clean cloth or paper towel until it is damp rather than wet. If the brush is still too wet, it can carry the first colour into the next section, causing the edges to bleed.
- Leave a painted section to dry before filling the adjoining colour, especially around small shapes such as the details on the Japanese Red Bridge and KOI Carp Paint by Numbers. If the surface feels cool, tacky or soft when touched very lightly near the edge, give it more time.
- Keep your supporting hand away from wet paint and turn the canvas instead of twisting your wrist around awkward corners. Short, gentle strokes usually produce a steadier boundary than pressing hard or trying to cover the line in one pass.
Look after your brushes and paints between sessions
Clean each brush as soon as you finish with a colour, even if you are taking only a short break, and keep your brushes in good condition by rinsing them in clean water. Gently work the paint from the bristles with your fingers, then rinse again until the water runs clear. Acrylic paint dries quickly, and dried paint can stiffen or split the bristles, leaving the brush splayed when you return to the canvas.
After rinsing, press the brush lightly against a cloth or kitchen towel to remove excess water. Aim for bristles that are slightly damp and flexible, rather than soaking wet. A dripping brush can dilute the paint and make it spread beyond a small numbered area. Reshape the tip with your fingers, then place the brush flat on a clean towel while it dries. If you store brushes in a jar, place them bristle-side up. Resting it bristles-down bends the tip and can damage the shape.
Close every paint pot firmly after use and store the pots upright, away from direct sunlight and heat. Wipe paint from the rim before replacing the lid so it seals properly for your next session. Keep the brushes and pots together in a dry place, perhaps in a small tray with your paint by numbers accessories, so you can check the condition of each brush before you begin.
Finish the canvas: sealing, framing and hanging
Give the finished paint by numbers canvas time to dry fully before sealing it. Acrylic paint can feel dry on the surface while softer layers underneath are still settling. When the painting is completely dry, you can apply a clear acrylic varnish if you want extra surface protection. Use a product suitable for acrylic paintings, follow its instructions, and apply thin, even coats in a clean, well-ventilated space. A test on a small painted area or spare material will show whether the finish is Matt, satin or glossy before you cover the whole piece.
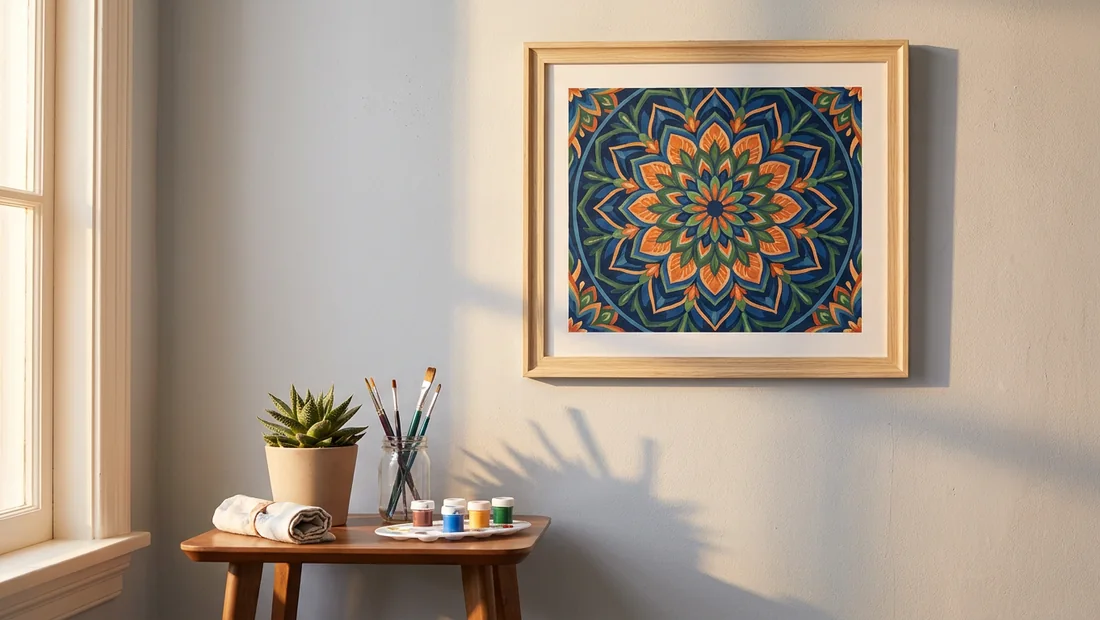
If you prefer a ready-made presentation, select the optional frame at checkout. A framed canvas is rigid and can be hung using appropriate wall fixings that match the frame’s hanging hardware. For an unframed canvas, keep it flat while you decide how to display it. Place clean paper or tissue over the painted surface, keep other items from pressing on it, and avoid rolling it tightly, as this can mark the paint and crease the canvas. A landscape design can work well in a hallway, sitting room or office once you have chosen a frame and wall position; see our landscape paint by numbers designs for ideas.
A personalised kit from a customer photo can make a thoughtful gift because the finished picture has a direct connection to the recipient. You can view the options in our custom paint by numbers collection. Please check the image and order details carefully before buying: personalised photo kits are excluded from the 14-day cancellation right. Our kits have a 1-year guarantee, and your rights under the Consumer Rights Act apply as well. If the canvas or supplied materials develop a fault, keep your order details and contact us with clear information about the problem.
Our picks

The most useful habit when starting a paint by numbers kit is to prepare the canvas and workspace before opening the first pot. Rinse your brush between colours, build pale shades over a white base, and apply thin coats with only a drop of water when needed. Work around small areas and edges before filling larger spaces for cleaner coverage. When you are ready to begin, browse our Paint by Numbers for Adults collection.
Ready to put these tips into practice?
Choose a kit with a clear printed canvas and numbered acrylics, add an optional frame, and we dispatch within 48 hours with free delivery to the UK and Ireland.
View Paint by Numbers for AdultsFrequently asked questions
Do I need to search for paint by numbers tips YouTube videos to learn?
No, you can learn the basics from a written checklist covering preparation, paint consistency and clean edges. Searching for paint by numbers tips YouTube videos can help you see brush movement, pressure and loading, yet the essential steps are simple to read and follow. Start with the kit instructions, then look up a video when a particular technique feels unclear.
Why does my paint look patchy after one coat?
Acrylic paint straight from the container is often too thick for an even first coat. Place a small amount on a palette, add a little water, and mix until it flows smoothly without becoming runny. Apply two thin coats, allowing the first to dry fully before adding the second.
How do I stop the numbers showing through light colours?
Cover the numbered section with a thin white base coat and let it dry completely before applying the light colour. Use two light passes rather than one heavy layer, allowing each coat to dry. This gives the final shade a cleaner appearance and reduces the chance of visible numbers or dark outlines.
Should I paint small areas or large areas first?
Paint the small areas and outlines first, then finish with the larger sections. This order helps you keep your hand away from wet paint while working on fine details. Use a smaller brush for narrow shapes and switch to a broader brush for larger spaces once the surrounding paint has dried.
Can I frame a finished canvas myself?
Yes, you can frame the canvas yourself once it is completely flat and dry. Check that no paint feels tacky before placing it behind glass or in a frame. We also offer an optional frame at checkout. Personalised photo kits are excluded from the 14-day cancellation right, so check the product terms before ordering.
Related posts
 How to Tell If Paint Has Gone Bad: A Painter's Guide
 How to Blend Paint on Paint by Numbers: A Studio Guide
 Which Colour to Paint First on a Paint by Numbers Kit
 Paint by Numbers Paint Like Frida: A Practical Guide