 Free UK delivery

How to Mount Canvas on Wall: 5 Secure Ways to Hang It
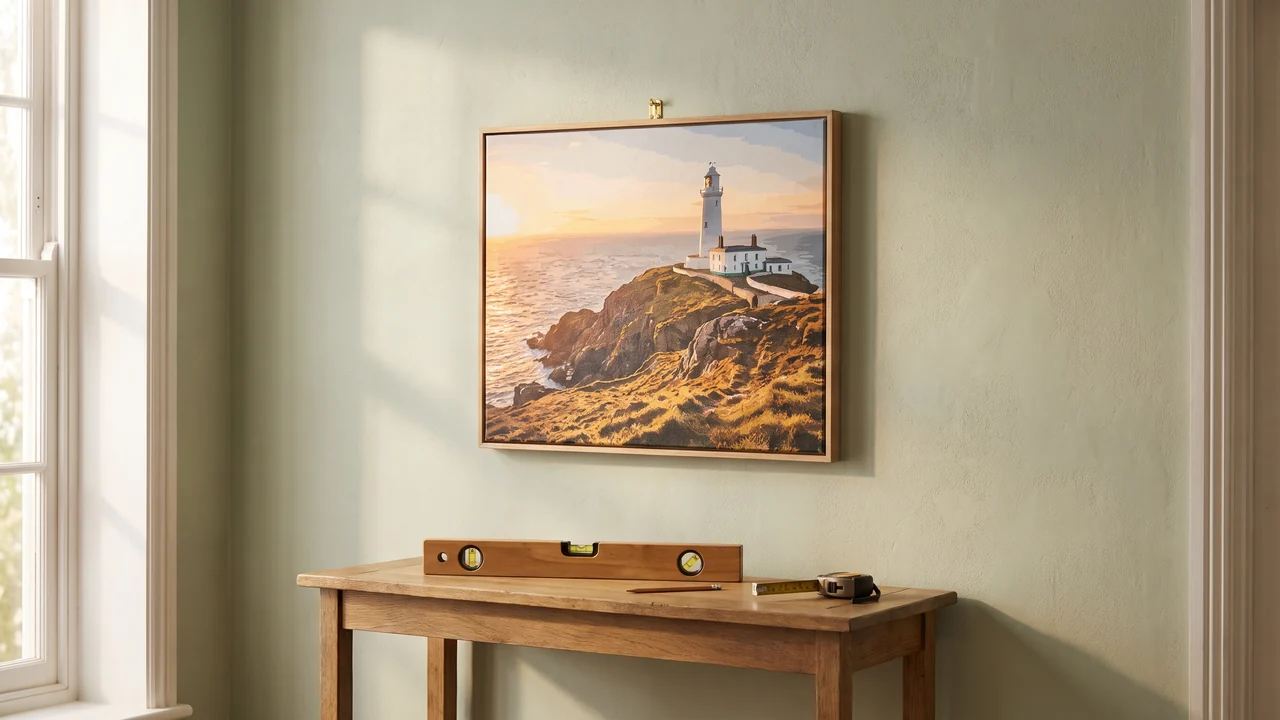
For most canvases, the safest way to mount one on the wall is a sawtooth hanger or two D-rings fixed to the back of the frame, resting on a picture hook or nail rated for the weight. Adhesive strips suit small, light canvases on smooth, clean paint, and a wire works for larger pieces if it is strung tightly.
If you have a finished painting, a gift or a personalised canvas with no hanging hardware, and you are unsure what your wall can take, we cover five secure methods below. You will also find how to check that the paint is fully dry before you handle it, and how to measure so the canvas sits level the first time. We also list the common mistakes that leave a canvas tilting or slipping off the wall.
In short
- Check the weight of the canvas and the type of wall first: they decide the method.
- A single nail or picture hook is enough for most light canvases; heavier or framed ones need two fixings.
- No-drill strips work on smooth, clean, painted walls, within their stated weight limit.
- Let the painting dry fully, and varnish it if you wish, before hanging, then level it with a spirit level or a paper template.
How to mount a canvas on the wall: the quick answer
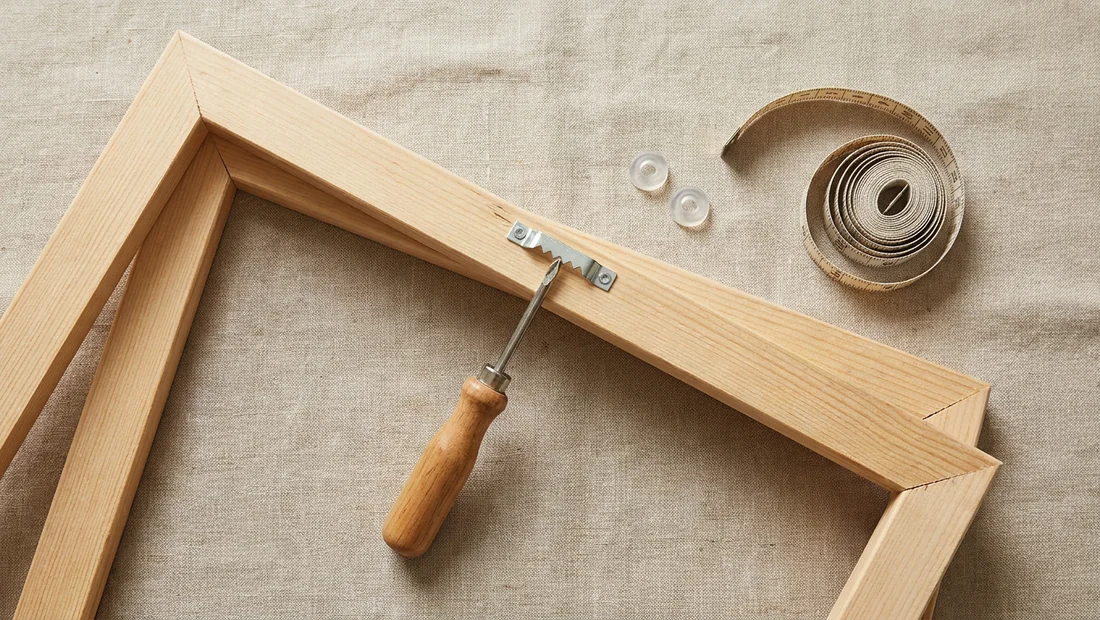
Most canvases hang well from a single fixing: a sawtooth hanger or D-ring fixed to the back of the wooden stretcher bar, then hooked over a nail or picture hook in the wall. Always fix it to the stretcher bar, never through the canvas fabric, which stretches and tears under the weight.
The right choice depends on two things, the weight of the canvas and the type of wall. A small, light canvas can hang from one picture hook in plasterboard, while a large one needs a stronger hook rated for its weight, or two fixings set level with each other so it cannot swing. Brick, plaster and tiled walls each take a different fixing, and we set these out in the decision table further down.
Most canvases hang well without a frame, so you do not need one to display yours. If you have just finished a kit from our paint by numbers for adults collection, check that the paint is fully dry before it goes on the wall.
Before you hang it: check dryness, finish and weight
Five quick checks will prepare a canvas for the wall. Work through them in this order.
Let the paint dry fully
Acrylic can feel dry on top while thicker patches underneath stay soft. Leave the painting flat until it is completely dry, which can take a day or more depending on how thickly the paint was applied. Do not stack it face to face with another canvas or lean it against anything until the surface no longer feels cool or tacky when you lightly touch the thickest area of paint.
Seal it with thin coats of varnish
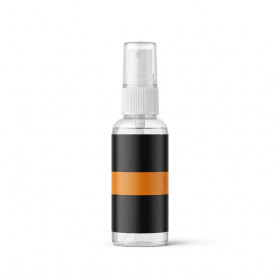
Varnish is optional, but it evens out patches of Matt and shine and protects the paint from dust. Either a spray varnish or a brush-on gel medium works, in matt, satin or gloss. Apply two thin coats in a dust-free room, letting each dry fully before the next. Thick coats run and cloud.
Test the stretcher bars
turn the canvas over and press gently on each corner and along the bars. The frame should feel firm, with joints that do not shift. Sight along each bar to spot any warping, as a bowed bar will stop the canvas sitting flat however well you fix it.
Weigh the canvas
put the canvas on kitchen scales and note the weight. Small and medium sizes are usually light enough for a single hook or adhesive strips, while larger ones may need two fixings or a heavier-duty hanger. Add the weight of a frame if you plan to use one.
Fix bumpers to the lower corners
stick a small self-adhesive rubber bumper to each lower back corner. They let air move behind the canvas, stop it marking the wall and help it hang flat rather than tilting forward at the bottom.
Which method suits your wall and canvas?
Choose the method based on your wall first and the weight of the canvas second, because the wall decides what will actually hold. A finished paint by numbers canvas on a stretcher bar is usually fairly light, so most walls can carry it, but weigh it to be sure. A framed version is heavier, and that is where the choice starts to matter.
| Wall type | Canvas weight | Method | Notes |
|---|---|---|---|
| Plasterboard | light, unframed | picture hook with its pin, or a small nail with a sawtooth hanger | Leaves a pinhole that is easy to hide with a little filler. |
| Plasterboard | Heavy, framed | Wall plug with a screw, or a screw into a stud | Find the stud with a detector before you drill. Use a plasterboard plug if there is no stud, and two fixings for wide frames. |
| Solid plaster or brick | Any | Masonry nail, or drill with a plug and screw | Use a masonry bit and drill slowly to avoid cracking the plaster. |
| Smooth painted wall | Light, within the strip limit | Adhesive strips | Clean the wall first and keep to the weight limit printed on the strip pack. |
| Rented home | Light to medium | Adhesive strips, or a hook on the picture rail | Check your tenancy agreement if you are unsure about nail holes. |
Textured, dusty or freshly painted walls weaken adhesive strips, so let new paint cure fully (check the paint tin for timings) before relying on them. Whatever you choose, read the weight limit on the pack of hooks, plugs or strips, and weigh the canvas on kitchen scales if you are not sure. If the canvas is close to the limit, move up to the next stronger fixing.
How to hang a canvas with a nail, hook or sawtooth hanger
A single nail or sawtooth hanger holds most unframed canvases securely, provided the wall can take a screw or nail and the canvas has a hanging point fitted. Work in this order to help it go up straight.
Mark the centre height
Decide where the middle of the painting should sit. A common guide is to place the centre of the picture at around eye level, roughly 145 cm from the floor. Make a light pencil cross at that height, directly below the point where you want the canvas centred across the wall.
Measure the hanging point
Lay the canvas face down and measure from the top edge to the notch of the sawtooth hanger, or to the wire if there is one pulled taut. Measure up from your cross by half the canvas height to find the top edge, then down by the hanger distance, and mark the spot for the nail.
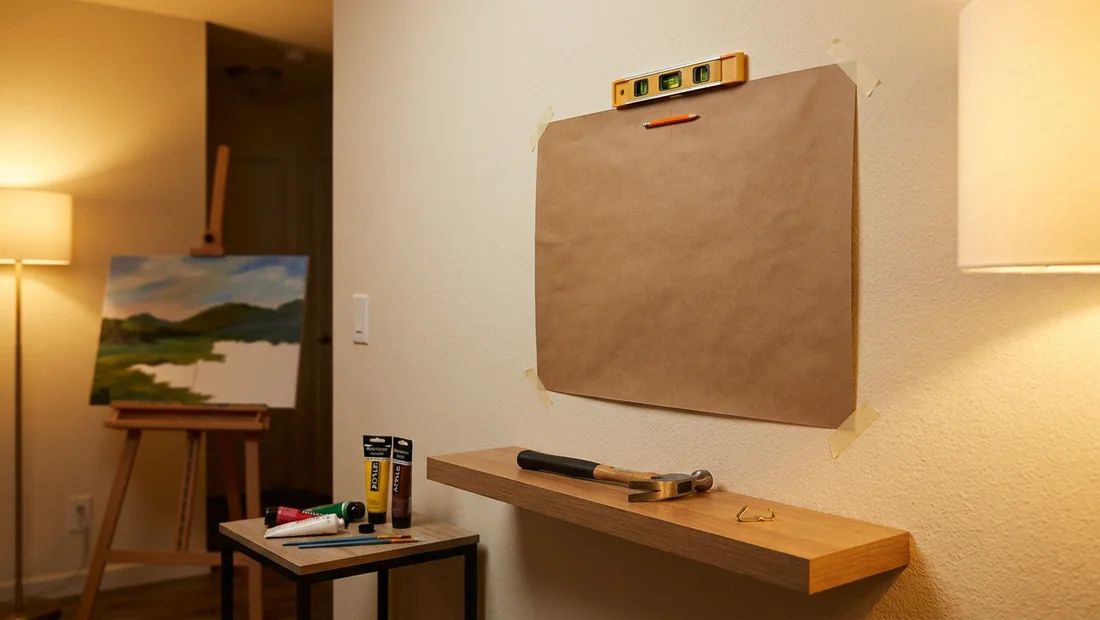
Check the position with a spirit level or paper template
A spirit level held against the mark confirms that your horizontal line is true. If you prefer a paper template, cut paper to the canvas size and tape it to the wall. Mark the hanger position on it, then step back to judge the placement before making any hole.
Fit the nail or hook
Drive a picture nail in at a slight downward angle, so the hanger cannot slide off. A picture hook with its own pin does the same job and is easier to place on plaster. On brick or solid plaster, use a wall plug and screw instead.
Hang and adjust
Lower the canvas onto the hook gently, then step back and check it by eye. Nudge the canvas until the lower edge sits level, then press self-adhesive bumpers onto the bottom corners to help keep it steady and flat against the wall.
Add a second hook for larger canvases
On wide canvases, fit two sawtooth hangers or two hooks, spaced roughly a quarter of the width in from each side. Mark both at the same height with the level. Two fixings share the load and stop the canvas swinging to one side.
How to hang a canvas without nails or wire
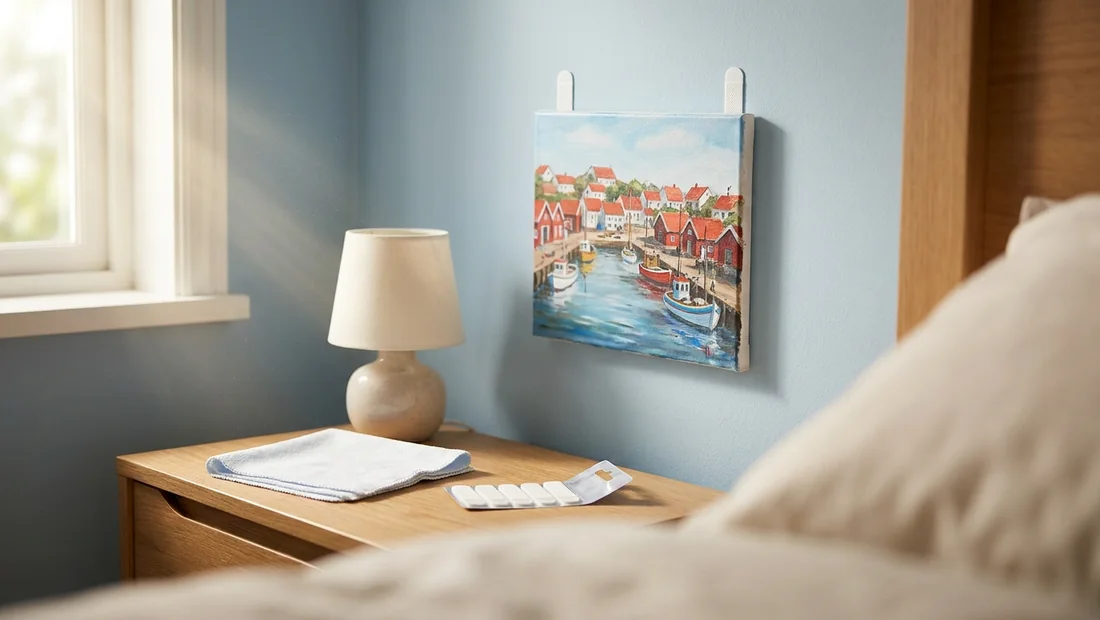
You can hang a canvas without nails or wire if you match the fixing to its weight and to the wall surface.
- Adhesive picture strips suit light, unframed canvases on smooth, painted walls, so check the weight limit on the pack against your canvas before you start.
- Clean the spot with a damp cloth, let it dry fully, then peel the strips and press each one firmly against the wall and the canvas back for the time printed on the pack.
- Then wait for the recommended time before you hang the canvas.
- Strips are a poor choice for textured plaster, peeling wallpaper, tiled bathrooms or any damp wall, where they may not hold.
- When it is time to take a canvas down, pull the tab slowly downwards, keeping it parallel to the wall, and stretch it until the strip releases, and never pull it straight outwards, which can lift paint.
- If your canvas has no wire, a sawtooth hanger fixed to the centre of the top bar of the stretcher frame lets it sit flat on a single screw or picture hook.
- Screw-in D-rings, one on each side of the frame about a third of the way down, give a more secure fixing for larger canvases and let you hang them from two points, which keeps them level.
- Where you want no fixing at all, rest the canvas on a shelf, a mantel or a deep window ledge, with its bottom edge on a non-slip pad.
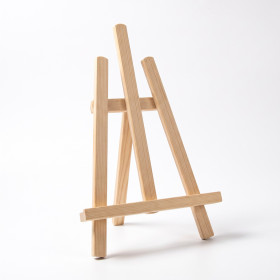
- A leaning display on a sideboard or chest of drawers works well for a smaller piece, and a tabletop stand such as the mini easel in natural wood holds it upright without marking anything.
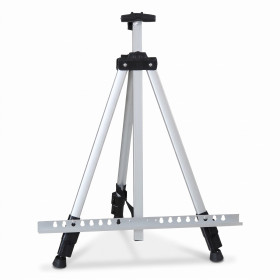
- For a larger canvas, a floor-standing tripod easel lets you show it in a room where drilling is not an option.
Can you frame a canvas, and how do you hang a framed one?
Yes, you can frame a canvas once it is finished. The usual choice is a floating frame, where the painting sits inside a slim outer frame with a narrow gap of a few millimetres around the edge, so the sides of the canvas stay visible. A standard picture frame with a rebate also works if the canvas depth fits, though a stretched canvas is thicker than a print and many shallow frames will not take it. Measure the depth of the canvas bars before you buy anything. If a frame comes with your kit, check that it suits your canvas size. Once the painting is in, the frame is hung by its own fittings, not by the canvas bars, so use the hangers or wire supplied with the frame.
A framed piece weighs noticeably more than a bare canvas, so use two fixings set level and a little apart, rather than a single nail in the centre. Two points spread the load and stop the frame swinging. Check the wall first: plasterboard needs suitable plasterboard fixings for anything heavy, while solid brick or masonry takes a plug and screw. Tap the wall or use a stud finder if you are unsure what is behind the surface.
For a group of canvases, such as a set from our landscape kits, lay them on the floor in the arrangement you want. Cut paper templates to each size, tape them to the wall, and adjust until the spacing looks even. Keep the gaps small and equal, for example a few centimetres. Mark the fixing points through the paper, then tear it away and hang.
Common mistakes that make a canvas hang crooked or fall
Most canvases that tilt or fall come down to one of these habits, and each is easy to fix.
- Hanging the canvas from the fabric itself, which stretches and tears over time. Put the nail, hook or hanger on the wooden stretcher bar at the back, and the painted surface stays taut.
- Ignoring the weight limit printed on adhesive strips. Check the combined rating of the pack against the weight of the canvas, and choose a nail or hook if the canvas is close to the limit.
- Hanging a canvas above a radiator or in a steamy bathroom. Heat and damp loosen adhesive, can warp the stretcher bars and may cloud the varnish, so a dry, steady spot is safer.
- Placing it in direct sun. Acrylic colours can fade over the years, so choose a wall away from strong direct light.
- Skipping the level. Eyeballing a position usually leaves it a few millimetres off, so mark the spot with a pencil and check it with a spirit level or a level app on your phone before fixing anything.
- Using a single hook on a wide canvas. One point lets the canvas swing and slide sideways, whereas two hooks or hangers spaced about a third in from each side hold it square.
Our picks
Weigh the canvas and check what your wall is made of before you pick a fixing, because those two facts decide everything else. Once the paint is fully dry and sealed, mark the spot with a paper template, fit the hook, and check it with a spirit level. When you are ready for your next project, browse our paint by numbers kits for adults.
Finished your painting and ready to display it?
Browse our paint by numbers kits for adults, with an optional frame, and pick the next piece for your wall. Delivery to the UK and Ireland is free.
View Paint by Numbers for AdultsFrequently asked questions
Can you hang a canvas on the wall without a frame?
Yes. A stretched canvas is made to be hung as it is, straight from the wooden stretcher bar with a hook, a sawtooth hanger or a wire. The sides look tidy if the image wraps around the edges or they are painted a solid colour. A frame is a matter of taste, though it does help protect the corners.
How do you hang a canvas without nails?
Use adhesive picture strips on a clean, smooth, dry wall, and check the weight limit printed on the pack before you press them on. Most small and medium canvases suit them well. Textured or freshly painted walls grip poorly, so for those it is safer to rest the canvas on a shelf or an easel.
How do you hang a canvas without wire?
Fix a sawtooth hanger to the top stretcher bar and hang it on a nail or screw. You can also drive a nail directly into the bar, or screw in a pair of D-rings near the top corners. Use small screws that stop well short of the canvas surface, and check the hanger sits centred.
How high should you hang a canvas?
Hang it so the centre of the painting sits about 145–150 cm from the floor, which is roughly eye level. Over a sofa or sideboard, lower it so the bottom edge sits 15 to 25 cm above the furniture. Mark the spot with a pencil or masking tape before you make any holes.
Should I varnish a finished painting before hanging it?
Varnish is optional. It seals the paint, evens out matte and glossy patches and makes dust easier to wipe away. Wait until the paint is completely dry, which can take several weeks for thick areas, then apply a thin coat in a dust-free room.
Related posts
 How to Clean a Varnish Paint Brush: Step-by-Step
 Paint by Numbers with Paint Pens: What to Buy
 Craft Lamp: How to Light Your Paint by Numbers Desk